
Welcome to the Rainbow Loom Instruction Manual! This comprehensive guide offers step-by-step tutorials and creative patterns, helping you unlock the full potential of your loom․ Perfect for beginners and experienced crafters alike, it’s your ultimate resource for making stunning bracelets, charms, and more with ease․
Tools and Materials Needed
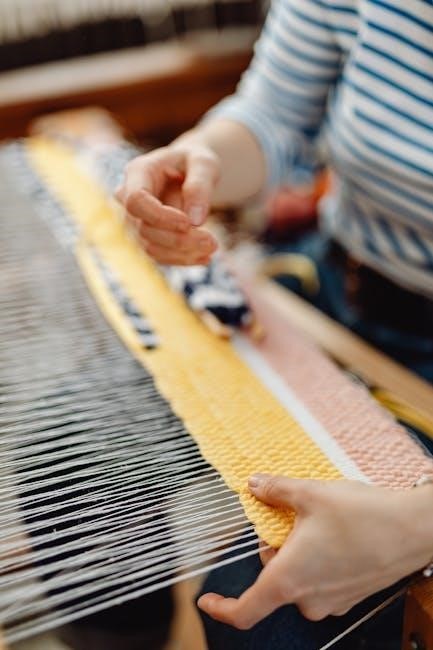
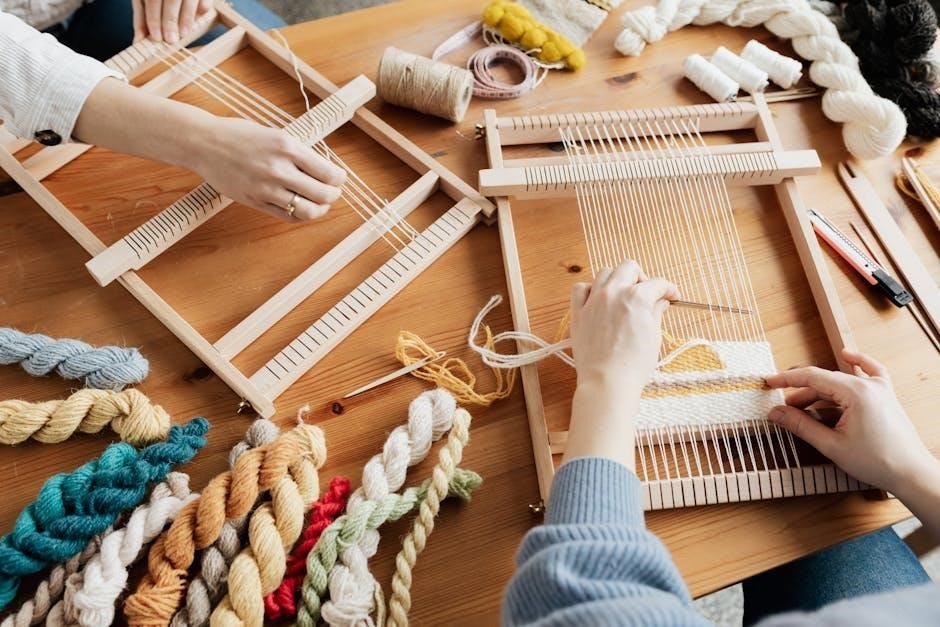
Gather essential tools like the Rainbow Loom, a hook, measuring tape, and a container for rubber bands․ Use high-quality rubber bands in various colors and optional beads for customization․
2․1․ Essential Tools for Rainbow Loom Projects
To get started with your Rainbow Loom projects, you’ll need a few essential tools․ First and foremost, the Rainbow Loom itself is the foundation of your crafting․ It features a grid of plastic pins that hold rubber bands in place․ A hook is another crucial tool, used to pick up and maneuver rubber bands on the loom․ You’ll also need a measuring tape to ensure your bracelet is the right size․ A container or small bucket is handy for organizing rubber bands, preventing them from getting tangled or lost․ While optional, a pair of scissors can help trim excess rubber bands for a cleaner finish․ These tools work together to streamline your crafting process, making it easier to create stunning designs․ With these essentials ready, you’re all set to begin your Rainbow Loom journey!
2․2․ Recommended Materials for Beginners
Starting your Rainbow Loom journey? Gather these must-have materials to ensure a smooth and enjoyable experience․ The most essential item is a variety of rubber bands, available in a wide range of colors to inspire creativity․ A hook is also crucial for picking up and maneuvering rubber bands on the loom․ To ensure your bracelet fits perfectly, have a measuring tape on hand․ A container or small bucket is highly recommended to keep your rubber bands organized and prevent tangling․ While not mandatory, a pair of scissors can be useful for trimming excess rubber bands for a polished finish․ These materials will help you create beautiful and professional-looking bracelets right from the start․ With everything ready, you’ll be well-prepared to dive into the world of Rainbow Loom crafting and bring your unique designs to life!
Setting Up Your Rainbow Loom
Start by placing the Rainbow Loom on a stable, flat surface․ Ensure all pins are securely in place and aligned properly․ Organize your rubber bands nearby for easy access․ This setup ensures a smooth and efficient crafting experience;
3․1․ Understanding the Loom Structure
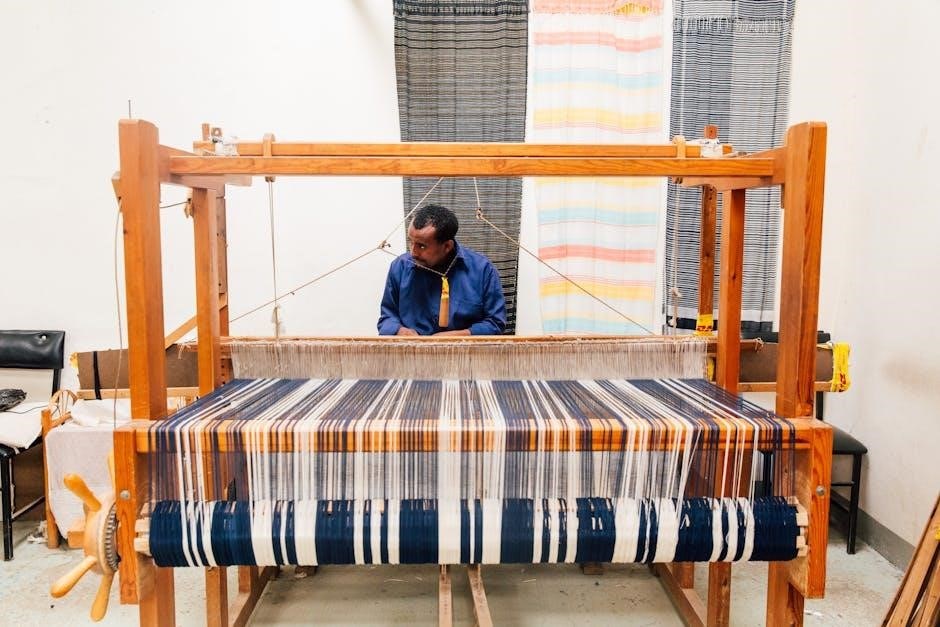
The Rainbow Loom consists of a grid with three rows of plastic pins, designed to hold rubber bands in place․ These pins are arranged to allow for easy looping and weaving․ The loom’s design enables users to create various patterns, from simple bracelets to intricate designs․ Understanding the layout is crucial for aligning bands correctly and achieving desired results․ Familiarizing yourself with the loom’s structure will enhance your crafting experience and help you navigate more complex projects with confidence․
3․2․ Preparing Your Workspace
Setting up a well-organized workspace is essential for a smooth and enjoyable Rainbow Loom experience․ Begin by clearing a flat, stable surface, such as a table or countertop, to accommodate your loom and materials․ Cover your work area with a non-slip mat or cloth to prevent bands and tools from rolling away․ Gather all necessary materials, including rubber bands, the loom, a hook, and scissors, and organize them within easy reach․ A small container or tray can help keep rubber bands tidy and prevent them from getting mixed up․ Ensure good lighting to see your work clearly, and consider having a waste bin nearby for discarded packaging or excess bands․ Finally, position your chair comfortably to maintain good posture during crafting sessions․ A well-prepared workspace will help you stay focused and make the most of your creative time with the Rainbow Loom․

Basic Rainbow Loom Techniques
Mastering basic techniques is the foundation of Rainbow Loom crafting․ Start with simple methods like looping bands and progress to more intricate patterns․ These essential skills will help you create stunning designs with confidence and creativity․
4․1․ Creating a Simple Single Bracelet
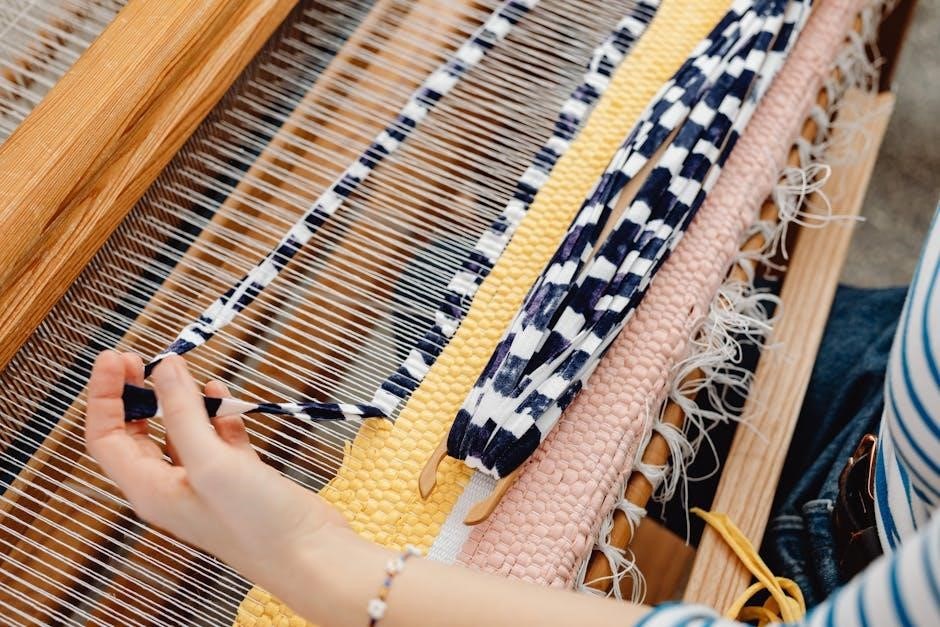
Creating a simple single bracelet is an excellent way to begin your Rainbow Loom journey․ Start by placing the loom on a flat surface and securing the first rubber band across the center pegs․ Loop additional bands over the pegs, ensuring they are evenly spaced․ Next, use your hook to pull the bottom band up and over the top bands, forming the foundation of your bracelet․ Repeat this process on both sides, moving from one end of the loom to the other․ As you progress, gently pull the bands to tighten them, ensuring a snug fit․ Once all bands are looped and secured, remove the bracelet from the loom and trim any excess material․ This method is quick, easy, and perfect for beginners․ With practice, you can experiment with different colors and patterns to create unique designs․
4․2․ Mastering the Fishtail Pattern
The fishtail pattern is a timeless favorite among Rainbow Loom enthusiasts, known for its sleek and intricate design․ To begin, create a base row of rubber bands on the loom․ Once the base is set, loop additional bands on one side of the loom, weaving them diagonally across the existing bands to form the fishtail effect․ Repeat this process on the opposite side, ensuring symmetry․ Use the loom hook to pull the bottom band up and over the top bands, securing them in place․ Continue this alternating pattern until you reach the end of the loom․ To finish, carefully remove the bracelet and tighten any loose bands․ Tips for success include keeping the bands snug and experimenting with color combinations to enhance the fishtail effect․ With practice, this pattern becomes second nature, allowing you to create stunning bracelets effortlessly․
4․3․ Designing a Multi-Color Bracelet
Creating a multi-color bracelet is a great way to add personality to your Rainbow Loom projects․ Start by selecting a variety of colored rubber bands that complement each other․ Begin with a base row, securing the bands across the loom pins․ Next, add bands of different colors in a pattern, such as alternating rows or creating stripes․ Use the loom hook to loop the bands over the pins, ensuring they are snug but not overly tight․ For a more intricate look, experiment with layering colors or incorporating the fishtail technique․ As you progress, maintain symmetry by mirroring the pattern on both sides of the loom․ Once complete, remove the bracelet from the loom and tighten any loose bands․ Tips include using a consistent color scheme and experimenting with gradients for a unique finish․ With practice, you can craft vibrant, multi-color bracelets that stand out․
Advanced Rainbow Loom Patterns
Elevate your crafting skills with intricate designs like the Starburst Bracelet and Hexafish Bracelet․ These advanced patterns, detailed in the Rainbow Loom Instruction Manual, offer creative challenges and stunning results for experienced crafters․
5․1․ The Starburst Bracelet Tutorial
The Starburst Bracelet Tutorial is a standout project for advanced crafters, offering a vibrant and eye-catching design․ To begin, gather your materials, including a variety of colored rubber bands and your Rainbow Loom․ Start by setting up your loom with a base row of rubber bands, securing them tightly to ensure stability․ The Starburst pattern involves creating a central “burst” of color, achieved by looping bands in a specific sequence․ Begin by placing two bands on the first peg, then loop additional bands around the sides, working outward to form the starburst effect․ Use a hook tool to pull bands over the pegs, ensuring each loop is secure․ As you progress, alternate colors to achieve the desired gradient or pattern․ The key to this design is maintaining consistent tension and carefully weaving each band to create the illusion of exploding colors․ With patience and practice, you’ll master this stunning bracelet, perfect for showcasing your skill and creativity․
5․2․ Crafting the Hexafish Bracelet
The Hexafish Bracelet is a unique and intricate design that challenges crafters to create a fish-scale pattern using rubber bands and the Rainbow Loom․ To start, you’ll need a variety of colored rubber bands, your loom, and a hook tool․ Begin by setting up your loom with a base row of bands, ensuring they are aligned evenly; The Hexafish pattern involves looping bands in a specific sequence to create the fish-like scales․ Start by placing two bands on the first peg, then loop additional bands around the sides, working your way outward to form the scale effect․ Use the hook tool to pull bands over the pegs, ensuring each loop is secure․ As you progress, alternate colors to achieve the desired multi-tonal appearance․ The key to this design is maintaining tight bands and carefully weaving each loop to create the illusion of overlapping scales․ With patience and attention to detail, you’ll craft a Hexafish Bracelet that showcases your advanced skills and creativity․
Troubleshooting Common Issues
Identify and resolve common mistakes like misaligned bands or uneven tension․ Use the hook tool to gently adjust loops or repair broken sections․ Refer to the manual for step-by-step solutions to ensure your projects succeed flawlessly․
6․1․ Fixing Common Mistakes
Fixing common mistakes is essential to perfect your Rainbow Loom projects․ One of the most frequent issues is misaligned bands, which can cause uneven patterns․ To correct this, gently lift the misplaced band and reposition it using the hook tool․ Another common problem is uneven tension, leading to loose or tight sections․ Adjust the bands by pulling them lightly to ensure uniformity․ If a band breaks during the process, stop immediately and repair it before proceeding․ Additionally, loops that are too loose or too tight can disrupt the design․ Use the hook to tighten or loosen loops as needed․ Always inspect your work after each step to catch errors early․ By addressing these issues promptly, you can ensure your bracelets and accessories turn out flawless․ Regular practice will help you master the technique and minimize mistakes over time․
6․2․ Repairing Broken Bracelets
Repairing broken bracelets can be a lifesaver, especially after spending time crafting them․ Start by assessing the damage to identify where the break occurred․ Gently secure the bracelet on your work surface or fingers to prevent further unraveling․ If a band has snapped, use your hook tool to carefully thread the end of the broken band through the nearest loop․ For more extensive damage, you may need to reweave the affected section by following the original pattern․ To strengthen weak points, add extra bands or tighten existing ones․ Regularly inspecting your bracelets for worn-out bands can help prevent breaks․ If a band is frayed or stretched, replace it promptly․ By addressing issues early and using proper techniques, you can restore your bracelet to its original condition․ This process not only saves time but also ensures your creations remain durable and long-lasting․
Safety Tips for Using the Rainbow Loom
Using the Rainbow Loom can be a fun and creative activity, but it’s essential to follow safety guidelines to avoid accidents․ Always handle the loom and tools with care, as the hook can be sharp and may cause injury if mishandled․ Keep small parts like rubber bands and the hook out of reach of young children to prevent choking hazards․ Ensure your workspace is clean and well-lit to avoid tripping or eye strain․ Regularly inspect your tools for damage and replace them if necessary․ If you or someone else experiences an allergic reaction to the rubber bands or plastic components, discontinue use immediately․ Sanitize your loom and tools periodically to maintain hygiene․ Supervise children while they use the loom, especially when handling small parts․ By following these tips, you can enjoy a safe and enjoyable crafting experience with your Rainbow Loom․

Creative Ideas Beyond Bracelets
Explore beyond bracelets with the Rainbow Loom! Create charms, keychains, and decorative items like ornaments or bags․ Expand your creativity to craft unique accessories and personalized gifts, showcasing the loom’s versatility and fun․
8․1․ Making Charms and Accessories
Expand your creativity with the Rainbow Loom by crafting charming accessories! Start with simple keychains or phone charms using rubber bands and beads․ For a personalized touch, add decorative elements like sequins or glow-in-the-dark bands․ To make a charm, loop bands around the loom pins, secure them with a hook, and shape into desired forms․ Experiment with patterns like the fishtail or starburst for unique designs․
Transition to more complex projects like hair clips or bag decorations․ Use beads to create faces or shapes, adding character to your creations․ These small accessories make great gifts or personalized additions to your belongings․ With practice, you’ll master creating intricate designs that showcase your style․ The Rainbow Loom’s versatility allows you to craft endless accessories, turning everyday items into personalized treasures․
8․2․ Exploring Alternative Projects
Take your Rainbow Loom skills to the next level by exploring projects beyond bracelets! Create vibrant ornaments, decorative phone cases, or stylish purses․ Use rubber bands to craft festive items like Christmas ornaments or Easter eggs․ For tech lovers, design custom phone or MP3 player cases using intricate patterns․
Why not try making hair accessories like headbands or clips? These projects are perfect for repurposing old materials or experimenting with new colors and designs․ Step-by-step guides and tutorials can help you master these unique creations․ Whether you’re crafting for yourself or as gifts, these alternative projects showcase the versatility of the Rainbow Loom․ Don’t be afraid to mix patterns like fishtail or starburst for a personalized touch․ With a little creativity, the possibilities are endless, turning everyday items into colorful, handmade treasures․ Start small and gradually experiment with more complex designs to expand your crafting horizons․
Additional Resources for Learning
Welcome to Additional Resources for Learning! Discover comprehensive guides, tutorial videos, and printable instructions to enhance your Rainbow Loom skills․ Explore community forums for tips and inspiration from fellow crafters․
9․1․ Recommended Tutorial Videos
Enhance your Rainbow Loom skills with recommended tutorial videos! These step-by-step guides cover basic to advanced techniques, ensuring you master every pattern․ From beginner-friendly bracelets to intricate designs like the Hexafish Bracelet, these videos provide clear, visual instructions․ Platforms like YouTube and Vimeo host a wide range of tutorials, including those from popular channels such as “Rainbow Loom Tutorials” and “Loomies Tutorials․” Videos are categorized by skill level, making it easy to find content suited to your expertise․ Many tutorials also offer tips and tricks for troubleshooting common mistakes․ Whether you’re learning the Fishtail pattern or exploring complex designs, these videos are invaluable resources․ Utilize the search function to find specific projects or techniques, and don’t hesitate to pause and rewind for better understanding․ Video tutorials are an excellent way to complement this manual, offering a hands-on learning experience․ Start watching, and let your creativity shine with every loop and band!
9․2․ Printable Instructional Guides
Printable instructional guides are an excellent resource for Rainbow Loom enthusiasts, offering a tangible and easy-to-follow format․ These guides are available in PDF format and can be downloaded from various sources, including official Rainbow Loom websites and crafting communities․ They often include detailed step-by-step instructions, diagrams, and photos to help you create intricate designs like the Hexafish or Starburst bracelets․ Many guides are tailored for specific skill levels, from beginners to advanced crafters, ensuring you find content that matches your expertise․ Printable guides also allow you to organize your favorite patterns in a binder or folder for quick access․ Look for guides that include tips for troubleshooting common mistakes and maximizing your creativity․ Whether you prefer working offline or need a backup for your digital tutorials, printable instructional guides are a valuable addition to your crafting toolkit․ They provide a clear, structured approach to mastering Rainbow Loom projects with precision and ease․
Maintenance and Care of Your Rainbow Loom
Proper maintenance and care are essential to extend the life of your Rainbow Loom and ensure it remains in great condition․ Regularly clean the loom using a soft cloth to remove dust and debris․ Avoid using harsh chemicals or abrasive materials, as they may damage the plastic pins․ Store the loom in a dry, cool place, away from direct sunlight, to prevent warping or discoloration․ For added protection, consider using a protective case or covering the loom when not in use․ Additionally, keep your workspace organized by storing rubber bands and tools in separate compartments to avoid losing them․ By following these simple care tips, you can maintain your Rainbow Loom’s functionality and enjoy creating beautiful bracelets and accessories for years to come․ Regular maintenance ensures your loom remains a reliable and durable crafting companion․
Thank you for diving into this Rainbow Loom Instruction Manual! With the skills and techniques you’ve learned, you’re now equipped to create stunning bracelets, charms, and other creative projects․ From simple single bracelets to intricate designs like the Starburst and Hexafish patterns, the possibilities are endless․ Remember to experiment with colors and patterns to make your creations truly unique․ Don’t hesitate to explore beyond bracelets—charms, accessories, and even home decor items can be crafted using your loom․ Regular maintenance and care will keep your loom in excellent condition, ensuring years of crafting joy․ Whether you’re a seasoned crafter or just starting out, the Rainbow Loom offers a fun and rewarding way to express your creativity․ Keep looming, and let your imagination shine!